Campfire Ribs Made Easy: Cook Juicy Ribs Outdoors
Cooking ribs on a campfire is an art that transforms a simple outdoor meal into a memorable feast. Imagine the smoky flavors infusing into the tender meat as you relax by the fire’s glow. It’s a rustic culinary adventure that’ll have you licking your fingers in no time.
You’ll learn the secrets to mastering this primal cooking method, ensuring your ribs are perfectly cooked every time. Whether you’re a seasoned camper or a novice, these tips will turn you into a campfire rib connoisseur.
TLDR: Get ready to cook mouthwatering ribs over a campfire with expert tips that guarantee a delicious, smoky flavor every time.
Equipment Needed
To ensure your campfire ribs are cooked to perfection, you’ll need the right equipment on hand. This section outlines the essential tools you’ll need to make your rib-cooking experience both enjoyable and successful.
Campfire Pit
First and foremost, you need a sturdy campfire pit. It’ll be the centerpiece of your cooking adventure. A good campfire pit should be safe and enclosed, making sure any sparks won’t escape. If your location doesn’t have a built-in pit, you can create one by encircling a clear area with a ring of rocks. This will contain your fire and provide a barrier from the wind. Ensure you’re adhering to the local fire regulations to avoid any mishaps.
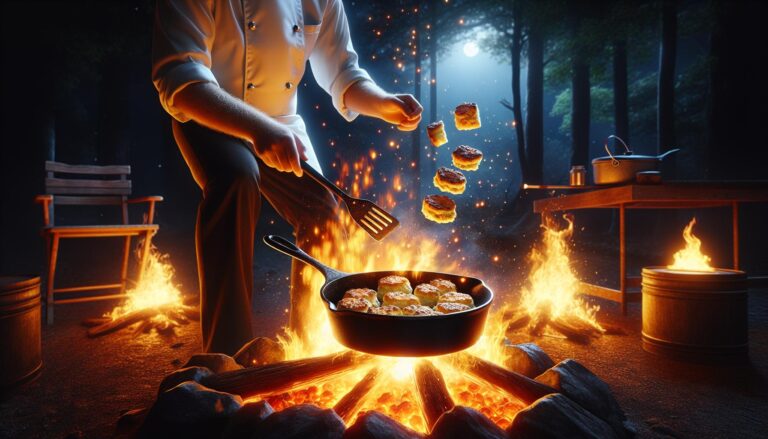
Grill Grate
Next, you’ll need a grill grate. It’s crucial for evenly cooking those ribs. Place the grate over the embers to create a stable cooking surface. You can find a portable grill grate at most outdoor or camping stores. Opt for a heavy-duty grate that can withstand the heat and hold the weight of the ribs. Make sure the grate is positioned securely and at the right height for optimal cooking — usually a few inches above the glowing coals.
Aluminum Foil
Aluminum foil isn’t just for wrapping leftovers. It’s a champion of outdoor cooking, especially for ribs. It helps in locking in moisture and achieving that fall-off-the-bone tenderness. You’ll use the foil to wrap the ribs, ensuring they’re covered completely before they go over the fire. The reflective surface of the foil also helps to distribute heat more evenly.
Tongs
A pair of long-handled tongs is your best friend when you’re cooking ribs on a campfire. You’ll need them to maneuver and flip the ribs safely without getting too close to the hot flames. Look for tongs that have a good grip and can handle the weight of the meat. They should be sturdy and not too heavy, making them easy to use over an extended period.
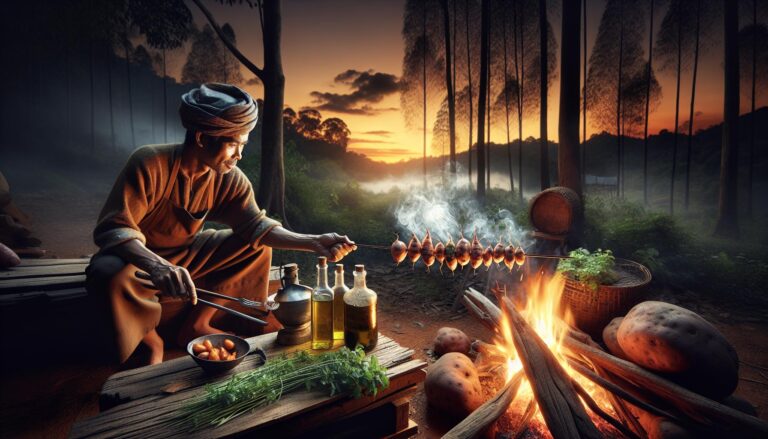
Charcoal or Wood
Finally, you’ll have to decide between charcoal or wood to fuel your fire. Both have their merits. Charcoal provides a consistent heat and burns cleanly, while wood adds that sought-after smoky flavor. Hardwoods like oak, hickory, or mesquite are ideal for long-lasting fires and infusing the meat with aromatic smoke. It might take some experimenting to get the right temperature and flavor, so don’t be afraid to try different types of wood.
Remember, the key to perfectly cooked ribs on a campfire is as much in the preparation as it is in the cooking. With these tools at your disposal, you’re well on your way to creating a delectable outdoor feast.
Preparing the Ribs

Choosing the Right Ribs
When you’re planning to cook ribs over a campfire, selecting the right type of ribs is crucial. You have a few options to consider, each offering a different flavor and texture experience.
- Baby back ribs are leaner and tend to be more tender, making them a popular choice. They cook faster due to their smaller size.
- Spare ribs, taken from the belly side of the rib cage, are larger and have more fat, which can translate to richer flavor when cooked properly.
- St. Louis style ribs are spare ribs that have been trimmed to create a more uniform rectangle shape, great for even cooking.
Aim for ribs with a good amount of meat on them and uniform thickness to ensure they cook evenly. Look for ribs with pinkish-red coloration and some marbling—that’s where the flavor comes from.
Trimming Excess Fat
Before seasoning, you’ll want to trim any excess fat from your ribs. Here’s how:
- Lay the ribs bone-side up and locate the silverskin—a shiny, tough membrane covering the bones. Slide a knife under the silverskin to loosen it, then pull it off. This step is essential as the silverskin becomes tough when cooked and impedes flavor penetration.
- Next, trim the fat. While you do need some fat for flavor and moisture, remove thick pockets of fat that won’t render out during the cooking process.
Seasoning the Ribs
Seasoning your ribs is not just about adding flavor; it’s about creating a crust, or ‘bark’, that’s packed with taste and texture. Go for a simple dry rub that includes:
- Salt and black pepper to taste
- Paprika for smokiness
- Brown sugar for sweetness and caramelization
- Garlic and onion powder for savory notes
- A touch of cayenne pepper for heat
Mix your ingredients and massage them into every nook and cranny of the ribs. Don’t forget to cover both sides and the edges.
Letting the Ribs Marinate
Now that your ribs are seasoned, allowing them to marinate maximizes the flavor. Wrap the ribs tightly in aluminum foil or place them in a sealed container and let them sit. Ideally, you should marinate your ribs for at least one hour, but for that deep, rich flavor, overnight in your cooler is best.
During this time, the salt in your rub will start to break down the proteins, tenderizing the meat, and the flavors from the spices will penetrate deeply. Remember, the longer you marinate, the more intense and satisfying the taste of your charred, smoky ribs will be when they hit the grill over your crackling campfire.
Preparing the Campfire
Before diving into cooking those flavor-packed ribs you’ve masterfully prepared, setting up a proper campfire is essential. A good campfire not only ensures your ribs cook evenly but also ensures safety throughout the cooking process. Let’s walk through the steps for creating the ideal setup for your campfire-cooked ribs.
Building a Safe Campfire Pit
The cornerstone of campfire cooking is a well-constructed campfire pit. Start by selecting a level spot that’s at least 15 feet away from tents, trees, and other flammable objects. Clear away any dry leaves, twigs, or other debris that could catch fire and surround your pit with rocks to create a barrier. Remember, safety is key, so always check local restrictions and obtain any necessary permits before building your campfire.
Lighting the Campfire
Once your pit is ready, create a small pile of tinder, such as dry leaves, pine needles, or paper. Around this, arrange kindling—small sticks and twigs—in a teepee shape for good airflow. Light the tinder with a match or lighter and gently blow to encourage flames. As the kindling catches, gradually add larger pieces of wood to build your fire. Allow the wood to burn down to a bed of hot coals ideal for cooking.
Adding Charcoal or Wood
When the fire’s built and the flames have simmered down, you’ve got two choices for fuel: charcoal or wood. Charcoal burns at a consistent temperature, which can be easier for beginners. It also imparts a milder flavor than wood. If you’re looking for that smoky taste, hardwoods like hickory or oak are your best bet. Which you choose will depend on your flavor preference and level of campfire cooking experience.
Preparing the Grill Grate
Last but certainly not least is preparing your grill grate. Ensure it’s clean to prevent sticking and to guarantee your ribs get those desirable grill marks. Adjust the grate to be 4 to 6 inches above the coals; this is the sweet spot for heat intensity. A higher positioning allows more control over the cooking temperature, enabling you to slow cook the ribs to perfection. Preheat the grate before you place the ribs on; this helps in searing the meat and locking in the flavors.
By now, your campfire is ready and waiting, just like an open-air kitchen. The stage is set to transform those seasoned ribs into a feast for the senses amidst the great outdoors.
Cooking the Ribs
Once your campfire is burning steadily, it’s time to focus on the main event: cooking the ribs to perfection. You’ve seasoned them, prepped the coals, and the anticipation is building. Now, let’s get to the specifics of transforming those seasoned ribs into a delectable feast.
Wrapping the Ribs in Aluminum Foil
Wrapping your ribs in aluminum foil is a crucial step for a few compelling reasons:
- It locks in moisture, ensuring the meat stays juicy and tender.
- The foil acts as a barrier, protecting the ribs from direct flames and potential charring.
- It helps distribute the heat evenly around the ribs.
Lay out a large piece of aluminum foil on a flat surface and place your seasoned ribs on top. Wrap them snugly, creating a tight seal on all sides. Remember, the goal is to trap in that moisture and flavor.
Placing the Ribs on the Grill Grate
With your ribs wrapped and ready, it’s time to get them on the grill:
- Place the foil-wrapped ribs on the grill grate over indirect heat.
- Make sure they’re not directly above the flames to prevent burning.
Positioning is key. You’re aiming for a spot where the heat is consistent but not too intense. This ensures your ribs cook through without any unpleasant surprises.
Adjusting the Heat
Managing your campfire’s heat is an ongoing task:
- If the ribs are cooking too fast, spread out the coals or reduce the wood.
Monitor the temperature regularly to maintain even cooking. - Add more charcoal or wood if the fire is dying down.
It’s all about balance. You want to maintain a steady temperature range that mimics a slow-cooked oven environment.
Flipping and Basting the Ribs
Now let’s talk about keeping those ribs in rotation:
- Carefully flip the ribs every 30 minutes to cook them evenly.
- Baste them with your choice of sauce or marinade after each flip.
This step isn’t just about flavor—it’s also about moisture. Basting keeps the surface of the ribs from drying out as they cook.
Remember, your patience will be rewarded with every tender, flavorful bite. Keep your tongs ready, your sauce handy, and your attention on that campfire. As the aroma fills the air and the ribs slowly transform, you’re well on your way to enjoying a memorable meal under the open sky.
Checking for Doneness
Cooking ribs over a campfire is an art, and knowing when they’re perfectly done is key to a savory outdoor feast. But how can you tell if your ribs are cooked to perfection? Thankfully, there are several reliable methods to check for doneness without the guesswork.
Using a Meat Thermometer
One of the most accurate ways to ensure your ribs are done is Using a meat thermometer. Ribs are considered safe to eat and most tender when the internal temperature reaches between 190°F and 203°F. Here’s how to do it:
- Gently insert the thermometer probe between two rib bones to get a clear reading of the meat’s internal temperature.
- Avoid touching the bone as this can give you a false high reading.
Remember that the temperature can rise a few degrees after you remove the ribs from the heat. It’s usually a good idea to take them off a bit early and let them reach the target temperature while they’re resting.
Performing a Bend Test
Not carrying a meat thermometer? No worries! The bend test is a classic, no-fuss way to eyeball rib readiness. To perform this test:
- Use tongs to pick up the rack of ribs at one end.
- Gently bounce the ribs or rotate your wrist slightly. If the ribs bend easily and the meat starts to crack on the surface, they’re likely done.
- If the meat breaks completely, they’re a bit over but still tasty!
The bend test gives you a good sense of how tender the meat has become. It successfully blends traditional BBQ wisdom with your instincts.
Checking the Meat Color
Visual cues are also vital in judging doneness. Ribs should have a rich, mahogany color on the outside and the meat should no longer be pink on the inside. Occasionally, some pinkish hue near the bone can still be present even when fully cooked due to the smoke ring which is a sign of a well-smoked rib. Here’s what to look for:
- Peel back a bit of the meat to see the color throughout. Be careful not to let all those precious juices escape!
- Look out for a slight pullback of the meat from the bones; this indicates that the ribs have shrunk slightly during cooking which denotes doneness.
By mastering the use of these techniques, you’re setting yourself up for campfire cooking success. Succulent, fall-off-the-bone ribs are a surefire way to impress your camp mates and relish the great outdoors. Keep honing your skills, and you’ll become the go-to rib master at any campfire gathering.
Serving and Enjoying
Resting the Ribs
After you’ve taken your ribs off the campfire, it’s tempting to dive right in. But hold on—you’ve got to let them rest first. This isn’t just busywork; it’s a key step in the cooking process. Resting allows the juices within the ribs to redistribute, ensuring every bite is as moist and flavorful as the next. Give the ribs about 10 to 15 minutes of rest time under a tent of foil before you think about slicing into them. This patience pays off with a tender, juicier rack of ribs.
Cutting and Plating the Ribs
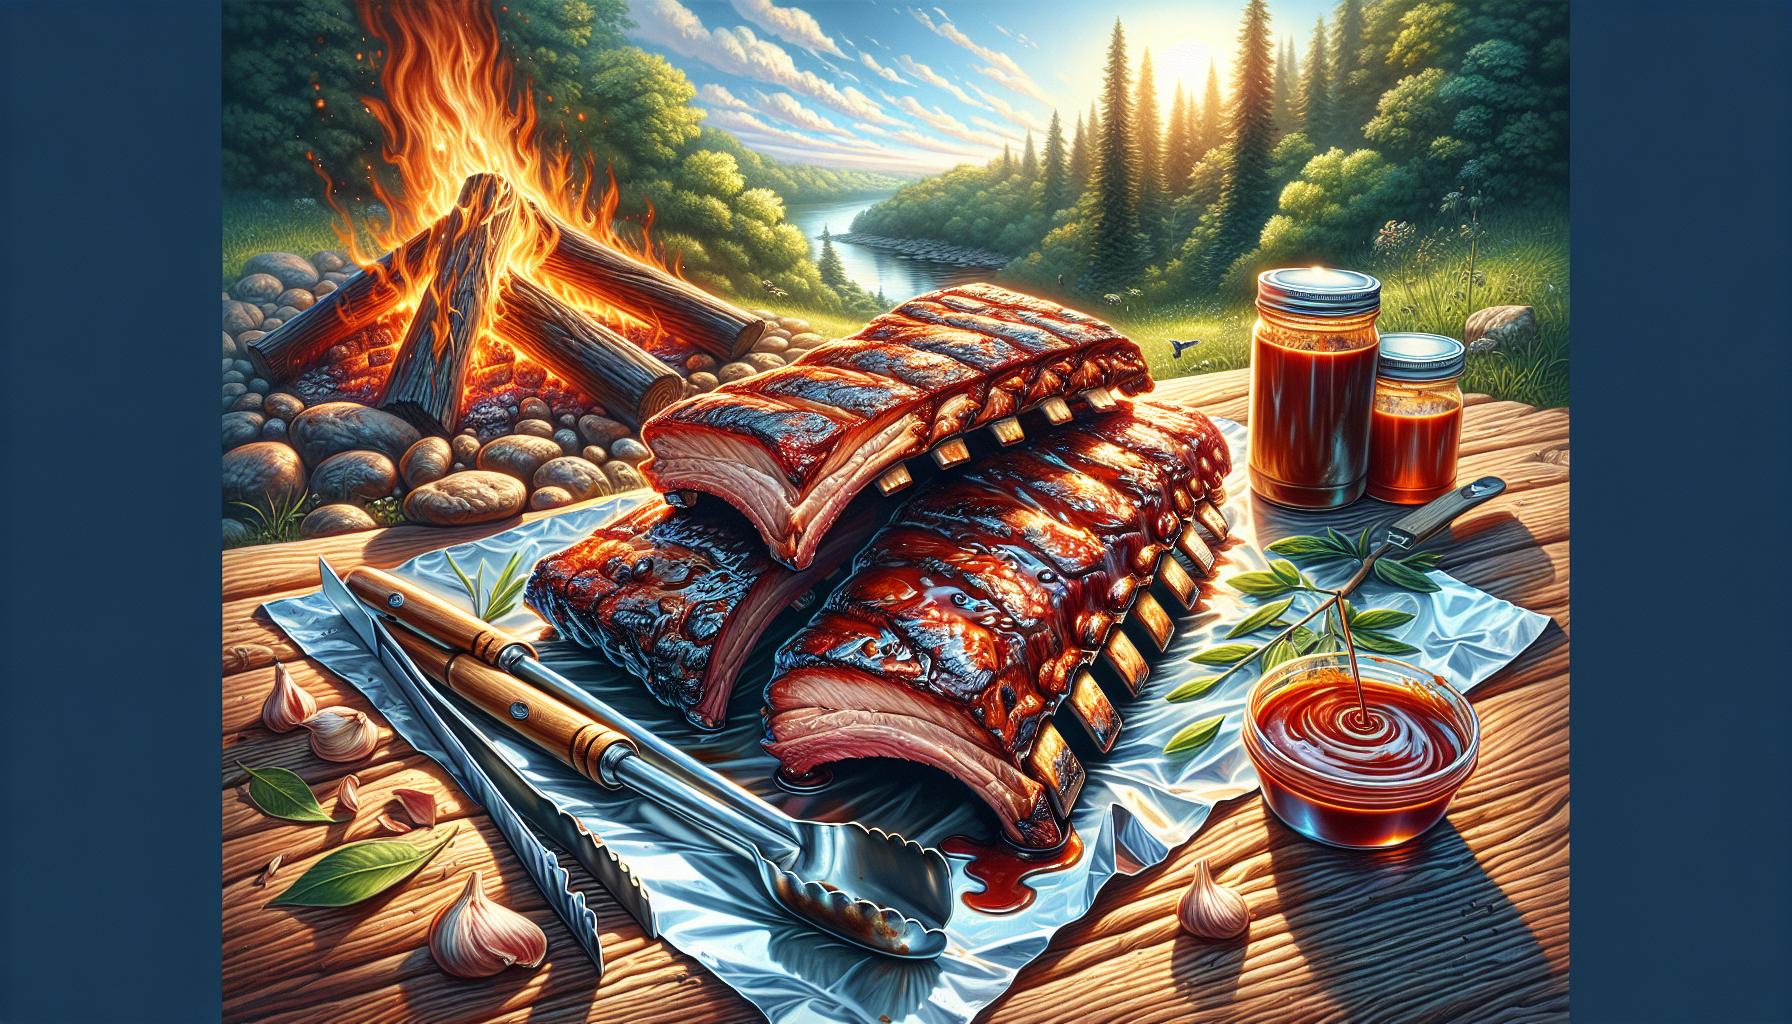
Now that your ribs have properly rested, it’s time for the grand reveal. Take a sharp knife and carefully slice between the bones. Aim for clean cuts to serve up picture-perfect portions. Ideally, you’ll want to cut with the ribs on a stable surface to avoid sliding or accidents. As you transfer these smoky treasures onto plates, try to capture that rustic campfire essence—maybe on a wooden board or a simple, unadorned platter. Remember, you’re not just serving food; you’re creating an experience.
Adding Barbecue Sauce (Optional)
Some folks swear by their sticky, sweet barbecue sauces while others prefer to savor the ribs’ natural smoky flavor. If you’re a sauce enthusiast, now’s the time to add that final touch of zest. Brush on your favorite barbecue sauce and consider giving the ribs a quick visit back to the grill to caramelizes the sauce just a bit. That little bit of extra heat can enhance the sauce’s flavor and give it a beautiful glaze that’s hard to resist.
Sides and Beverages to Pair with Ribs
Your campfire ribs are nearly ready for the feast – but let’s consider the supporting cast. The right sides and beverages can elevate the meal from good to unforgettable.
- Sides: Classic coleslaw, cornbread, and baked beans are tried-and-tested companions that balance the rich flavors of your ribs.
- Beverages: For drinks, a cold beer is a natural match, though a glass of bold red wine or a refreshing soda also pairs nicely.
Think about texture and balance when choosing your sides. You want contrasts like crunch from a fresh salad or creaminess from mac and cheese to complement the meaty ribs. As for beverages, match the weight of the drink with the heartiness of the ribs – lighter beers or wines for less spicy preparations, something with more body for bolder flavors. Your goal is to round out the meal for a satisfying culinary adventure right by the campfire.
Conclusion
Mastering the art of campfire ribs is sure to make your outdoor adventures even more memorable. Remember to let those succulent ribs rest before diving in—that patience pays off with every tender, juicy bite. When you’re ready, serve them up with pride, knowing you’ve harnessed the primal essence of cooking with fire. Pair your perfectly cooked ribs with your favorite sides and a refreshing drink for an unbeatable feast under the stars. Now you’re not just a camper; you’re a campfire culinary hero. Happy grilling!
Frequently Asked Questions
How long should you let the ribs rest after cooking them over a campfire?
After cooking the ribs over a campfire, it’s important to let them rest for about 10 to 15 minutes. This resting period allows the juices to redistribute through the meat, ensuring the ribs will be tender and juicy when served.
What’s the best way to cut the ribs?
For the best results, aim for clean cuts between the bones. Use a sharp knife to slice through the meat cleanly, which will aid in maintaining the ribs’ structure and presentation when plating.
Should you add barbecue sauce to the ribs?
Adding barbecue sauce to the ribs is an optional step. If you prefer your ribs with extra flavor, you can brush on your favorite barbecue sauce before serving. However, they can also be enjoyed without sauce to appreciate the natural flavors.
What are some classic side dishes to serve with ribs?
Classic sides that pair well with ribs include coleslaw, baked beans, cornbread, and roasted vegetables. These sides complement the richness of the ribs and provide a balanced meal.
What beverages pair well with ribs?
When it comes to pairing beverages with ribs, you can’t go wrong with a cold beer or a glass of bold red wine. For non-alcoholic options, consider iced tea, lemonade, or water to help cut through the richness of the meat.