Campfire Ham Cooking Guide: Sizzle & Savor Outdoors
Cooking ham on a campfire combines the smoky essence of the outdoors with the savory sweetness of your favorite cut. Imagine sitting by a crackling fire, the aroma of char-grilled ham filling the air—it’s the ultimate campsite feast!
You’ve got your ham, your firewood, and an appetite for adventure. Now, let’s turn that campfire into a rustic kitchen. With a few simple steps, you’ll be savoring a deliciously cooked ham under the stars.
Preparing the Ham
Before you can bask in the glow of the campfire with your delicious ham, there’s some prep work involved. It’s essential to start with the right type of ham, ensure it’s properly thawed, and season it to your taste. Follow these straightforward steps to set yourself up for a campfire meal you won’t forget.
Choosing the Right Ham
You’ll want to pick a ham that’s not only tasty but also suitable for campfire cooking. Here are a few tips to keep in mind:
- Purchase a pre-cooked ham: They’re easier to manage on a campfire and you’re just heating it through and adding flavor with smoke.
- Opt for bone-in: Bone-in hams tend to be juicier and more flavorful than their boneless counterparts. Plus, the bone can help keep the ham together while it’s exposed to the heat of the fire.
- Consider the size: Remember, you’re at a campsite. Aim for a ham that’s large enough to feed your campers but small enough to manage over the campfire grate.
Thawing the Ham
If your ham is frozen, you’ll need to thaw it completely for even cooking. Thawing can take a few hours to over a day, depending on the size of your ham. Here’s how to do it safely:
- In the refrigerator: This is the safest method. Just place your ham in the fridge and let it thaw slowly. A general rule is to allow approximately 5 hours of thaw time for every pound of meat.
- Cold water method: If you’re short on time, you can resort to thawing the ham in cold water. Keep the ham in its original packaging or make sure it’s in a leak-proof bag and submerge it in cold water, changing the water every 30 minutes.
Seasoning the Ham
It’s time to infuse your ham with flavors that’ll complement that irresistible campfire smokiness. Here’s how you can season your ham:
- Dry rubs: Mix up your favorite herbs and spices, then rub them all over the ham to create a flavor-packed crust.
- Marinades: If you prefer something more penetrative, let your ham sit in a mixture of your chosen ingredients to imbibe deep flavors.
- Simple seasonings: Sometimes, all you need is a bit of good quality salt and pepper to accentuate the natural flavors of the ham.
Remember, the goal is to complement the smoke, not overpower it. Keep your seasonings balanced and let the campfire do the rest of the work.
Preparing the Campfire

Once you’ve chosen your ham and got it ready for the campfire, it’s time to turn your attention to building the perfect fire to cook it. Without a suitable campfire, even the best-prepared ham won’t turn out as delicious as you’d like.
Gathering Firewood
Your first task is to get your hands on some quality firewood. Look for dry, seasoned wood that burns well and gives off steady heat. Hardwoods like oak or hickory are great options because they burn slower and hotter, which means your ham will cook evenly.
- Hardwoods are preferable.
- Make sure the wood is dry and seasoned.
Avoid using softwoods like pine as they tend to burn quickly and can give your food an unwanted flavor due to their high resin content. As you gather wood, also pick up some kindling—smaller sticks or shavings—that will help to get your fire started.
Building a Fire Pit
Before you light your fire, you need a safe place to build it. A fire pit shields your fire, keeping it contained, and also protects the flora around it from catching fire. If there’s no existing pit, you’ll need to create one.
- Circle of rocks: Place a ring of rocks in a clear, flat area.
- Depth: Make sure it’s deep enough to prevent flames from escaping.
The size of your fire pit should be large enough to accommodate the fire you’ll need to cook the ham but not so large that it’s unwieldy to manage. Aim for a pit that’s about a foot deep and two feet in diameter.
Starting the Fire
With your firewood and pit ready, it’s time to start the fire. Begin by putting your kindling in the center of the pit. Over this, build a teepee structure with your firewood, allowing air to circulate, which is vital for keeping the fire going.
- Lighter or matches: Use these to ignite your kindling.
- Safety first: Ensure you have water or a fire extinguisher nearby.
As the kindling catches, the fire will begin to spread to the larger pieces of wood. Keep adding larger pieces gradually; rushing this can smother the flames. Once you’ve built a strong, stable fire, allow it to burn down to a bed of coals—this is what you’ll use to cook your ham to perfection.
Remember, maintaining a consistent temperature is key. So monitor your fire, adding wood as necessary but be careful not to let it get too hot. You’re aiming for a medium heat that will cook the ham through without burning the outside.
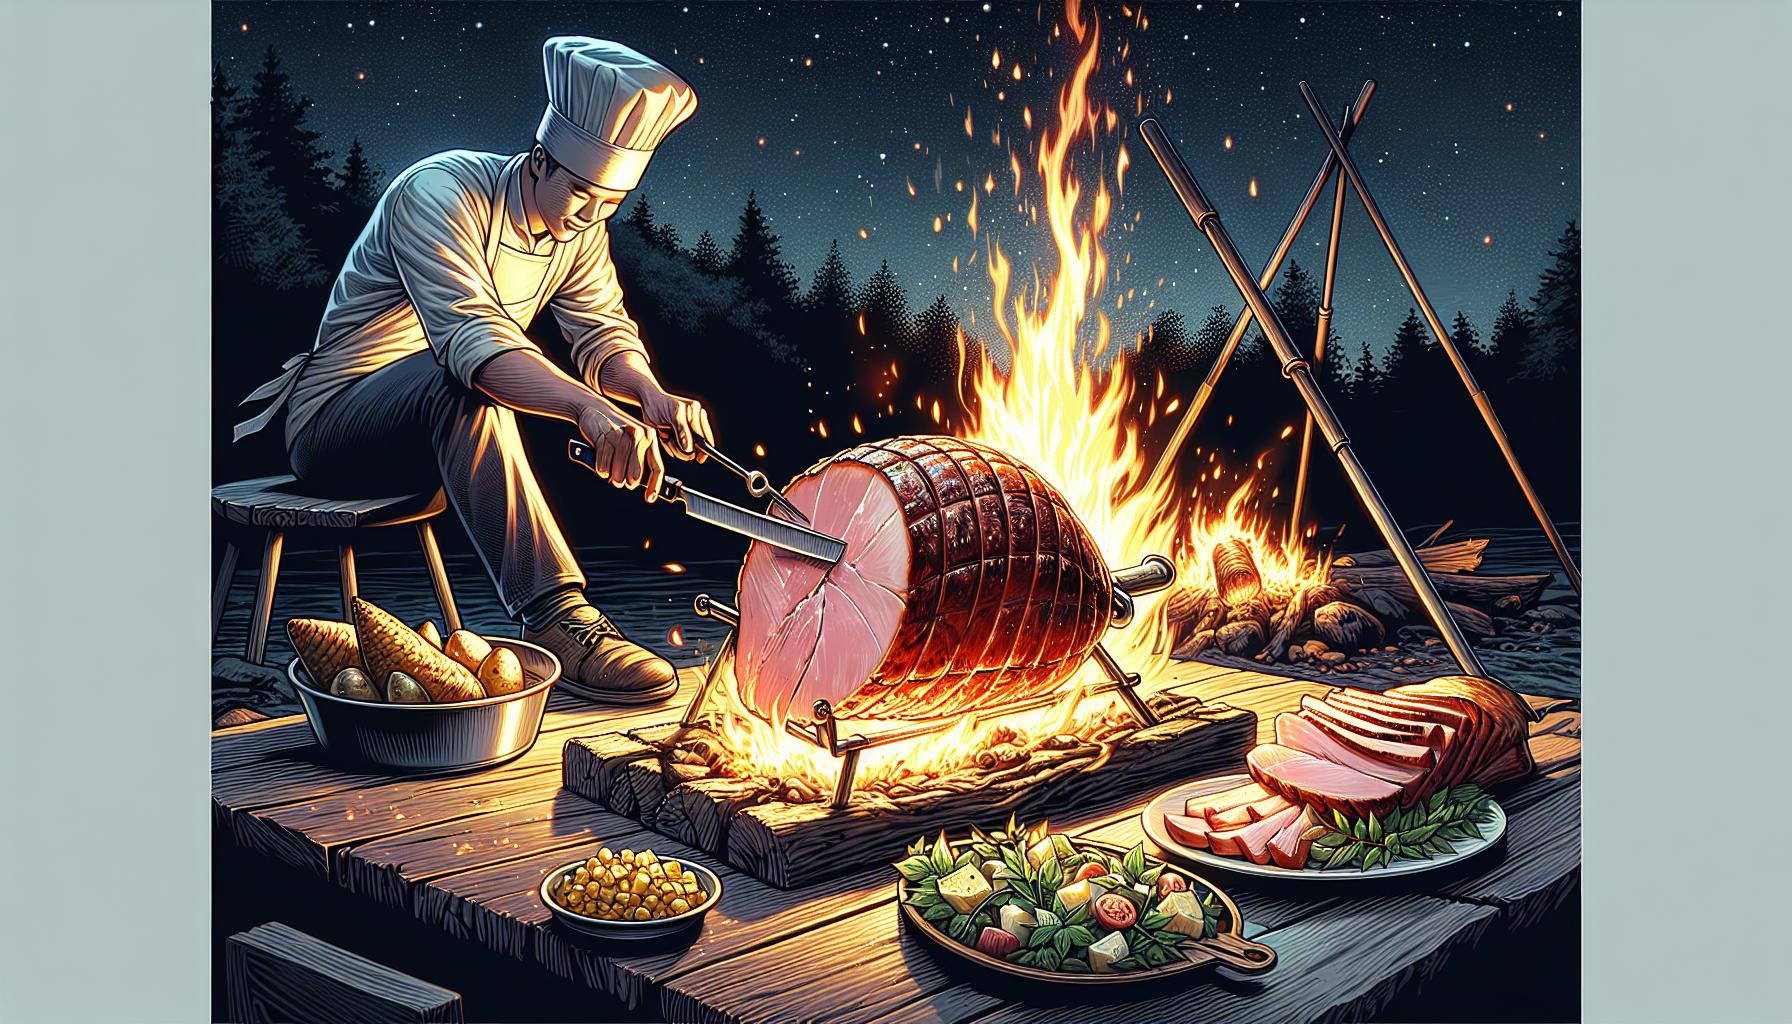
Cooking the Ham
Cooking ham on a campfire is an enjoyable experience that can result in a delicious meal if done properly. Once your campfire is set and you’ve prepped your ham, the next step is to cook it. We’ll walk you through how to wrap your ham in foil, place it on the campfire, and ensure it’s evenly cooked by rotating it.
Wrapping the Ham in Foil
Wrapping your ham in foil is a critical step that shouldn’t be skipped. It seals in the flavors and ensures that your ham stays juicy.
- Lay out a large sheet of heavy-duty aluminum foil on a flat surface.
- Place your seasoned ham in the center.
- Wrap the foil tightly around the ham, making sure there are no gaps. This keeps the moisture in and prevents the seasoning from coming off.
- If necessary, use additional layers of foil to ensure that no part of the ham is exposed.
By wrapping it tightly, you’ll also protect the ham from catching fire or getting too smoky.
Placing the Ham on the Campfire
Care must be taken when placing the ham on the campfire. You want to cook the ham thoroughly without burning it.
- Push some coals to one side of the fire pit to create a hot zone and a cooler zone.
- Place the wrapped ham on a grill grate over the cooler zone. If a grill grate isn’t available, position the ham near the edge of the fire pit where it receives indirect heat.
- Make sure the ham is not in direct contact with open flames to avoid charring.
Monitoring the campfire’s temperature is important to achieve a consistent cook. The ideal temperature for cooking ham is around 325°F (163°C).
Rotating the Ham
Rotating the ham is essential for an even cook.
- Every 15-20 minutes, rotate the ham to expose a different side to the heat.
- Adjust the ham’s proximity to the hot coals to control the cooking speed.
- If any part of the ham starts cooking too quickly, move it further from the direct heat source.
Consistent rotation prevents any one part of the ham from getting overcooked. Remember, patience is key. The ham will need a few hours to cook through properly, so take your time and enjoy the process.
Checking for Doneness
Cooking ham on a campfire requires knowing precisely when it’s done to perfection. It isn’t just about a golden exterior; the safety and flavors depend heavily on reaching the right internal temperature. To ensure your campfire ham turns out just right, here’s what you’ll need to do.
Using a Meat Thermometer
One of the most reliable tools at your disposal is a meat thermometer. Don’t guess—using this simple instrument can make the difference between an undercooked or overcooked meal and a perfect one. Here’s how you can put this tool to good use:
- Insert the thermometer in the thickest part of the ham, avoiding fat and bone as they can give misleading readings.
- Look for a thermometer with a long probe that can handle the heat from your campfire and provide an accurate measurement without the need for you to get too close to the flames.
- Digital thermometers are especially handy, as they provide quick and easy-to-read results.
Remember, a meat thermometer doesn’t just ensure a delicious ham; it ensures a safe one too, keeping foodborne illnesses at bay.
Checking the Internal Temperature
When you’re cooking ham, especially on an unpredictable heat source like a campfire, regular checks are crucial. Here are the temperatures you’re aiming for:
| Meat Type | Internal Temperature Range (°F) |
|---|---|
| Fresh Ham | 145 |
| Pre-Cooked Ham | 140 |
| Resting Time | 3-4 minutes |
Once you hit the target temperature, remove the ham from the campfire and let it rest. This pause lets the juices redistribute, resulting in a moist and succulent slice of ham. Always keep in mind that ham will continue to cook slightly from residual heat even after it’s removed from the fire, known as carryover cooking.
When checking, if you find the temperature hasn’t reached the desired range, return the ham to the heat, check the coals and adjust if necessary. Regular monitoring combined with patience will yield the best results and showcase your campfire culinary skills.
Serving and Enjoying
Letting the Ham Rest
Once you’ve hit that sweet spot with the internal temperature, it’s tempting to dig right in. But hold your horses! Letting your campfire-cooked ham rest is crucial. You’ll want to allow it to sit off the heat, still wrapped in foil, for about 10-15 minutes. This rest period lets the juices redistribute throughout the ham, which means every bite will be just as moist as the last.
Carving the Ham
Now for the grand reveal! Carving your ham is as much about skill as it is about presentation. Ensure you’ve got a sharp knife — a dull one will do you no favors here. Begin by making a small cut near the bone to guide the rest of your slicing. Slice thinly for tenderness, or go a bit thicker if you prefer a heartier piece. Remember to carve across the grain for maximum tenderness.
Savoring the Flavor
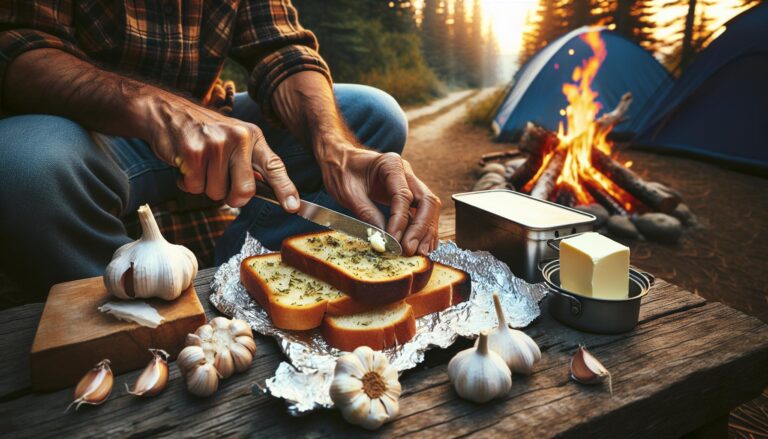
The smoky aroma from the campfire melding with the savory goodness of the ham is an experience you won’t forget. Here’s where you get to savor the flavors. Pair your ham with simple sides that won’t overshadow its taste — perhaps some grilled veggies or a rustic bread. Take a moment to relish the flavors and the fruits of your labor; every smoky note is a testament to your campfire culinary expertise. Enjoy the ham while it’s warm to best appreciate the nuances of its campfire-infused zest.
Conclusion
Now that you’ve mastered the art of cooking ham over a campfire, you’re ready to impress your fellow campers with your culinary skills. Remember to let that succulent ham rest before you carve into it—patience will reward you with the juiciest results. With a sharp knife in hand and the knowledge of slicing against the grain, you’ll serve up tender cuts that melt in the mouth. Don’t forget to round out your meal with some simple sides and take a moment to appreciate the smoky flavors you’ve coaxed from the flames. Here’s to many memorable meals under the open sky!
Frequently Asked Questions
What is the ideal internal temperature for campfire-cooked ham?
The ideal internal temperature for campfire-cooked ham is 140°F (60°C), which ensures it is safely cooked while still being moist and flavorful.
How long should the ham rest after cooking and why?
The ham should rest for about 10-15 minutes after cooking. This rest time allows the juices to redistribute throughout the ham, making every bite succulent.
Why is slicing across the grain important when carving ham?
Slicing across the grain is important when carving ham because it makes the meat more tender and easier to chew by cutting through the muscle fibers.
What kind of knife is recommended for carving ham?
For carving ham, a sharp knife is recommended. A sharp blade makes cleaner cuts and works better to slice through the meat without tearing it.
Can you suggest simple sides to pair with the campfire-cooked ham?
Simple sides like roasted vegetables, a fresh salad, or a heap of buttery mashed potatoes complement campfire-cooked ham well, balancing the meal.