Campfire Burger Guide: Perfect Patty Grilling Tips
Cooking burgers over a campfire isn’t just about satisfying your hunger—it’s an experience that taps into the primal joy of outdoor cooking. You’re about to discover the secrets to grilling up the juiciest, most flavorful burgers, all with the crackling backdrop of a campfire.
Imagine biting into a perfectly charred, smoky burger while surrounded by nature. We’ll guide you through the steps to achieve this culinary delight, ensuring your next camping trip is a hit. So grab your spatula and let’s get those flames ready for burger magic!
TLDR: Learn the art of cooking mouthwatering burgers over a campfire with simple, step-by-step instructions that’ll make your next outdoor adventure deliciously unforgettable.
Preparing for the Campfire Cooking
Choosing the Right Ingredients
The success of your campfire burgers starts long before the flames lick the grates. It begins with selecting quality ingredients. To ensure the best taste, opt for ground beef with a fat content between 15 to 20%. This range guarantees a juicy burger without being too greasy.
Focus on freshness for your accompaniments too. Crisp lettuce, ripe tomatoes, and firm pickles will elevate your burger to gourmet status. Don’t forget the cheese! Cheddar or Swiss slices melt beautifully over a hot patty. For added flavor, consider bringing spices like garlic powder, smoked paprika, or a simple seasoning salt.
Packing the Necessary Tools
Efficient packing is key to a stress-free cooking experience. Ensure you’ve got all the tools needed to cook and serve your burgers without hassle.
Here’s a checklist of the essentials:
- Heavy-duty aluminum foil: Useful for wrapping and protecting your food.
- Cast iron skillet or grill grate: These conduct heat evenly for a consistent cook.
- Tongs and spatula: For flipping and serving your burgers safely.
- Gloves or oven mitts: Protect your hands from the intense heat.
- Cutting board: A flat surface for food prep that doubles as a serving platter.
- Cooler with ice packs: Keep your raw meat and perishables chilled until it’s time to cook.
Make sure these items are easily accessible once you arrive at your campsite. Proper preparation ensures a smooth and enjoyable campfire cooking experience that’s sure to impress.
Building and Maintaining a Campfire

Selecting the Campfire Location
When you’re gearing up to cook burgers on a campfire, the first step is to pick the perfect spot. Look for a location that’s sheltered from the wind and at least 15 feet away from tents, trees, and other flammable objects. Remember to abide by the campsite rules; some areas have designated fire pits you should use. If you’re building your own fire pit, surround it with rocks to keep the fire contained.
Gathering Dry Wood and Fire Starters
Next, you’ll need fuel for your fire. Gather an assortment of dry wood—this is crucial for an efficient and smokeless fire.
Here’s a quick rundown of what you’ll want to collect:
- Tinder: Small twigs and dry leaves or grass that’ll catch fire quickly.
- Kindling: Medium-sized sticks, ideally no thicker than your wrist, that’ll burn longer and hotter than tinder.
- Fuel Wood: Large pieces of wood that will keep your fire going strong.
Also, consider bringing along some fire starters such as newspaper or specially-made starters from the store. This’ll make lighting the fire easier, especially if the weather’s damp.
Building the Campfire Structure
With your materials at the ready, it’s time to lay your fire. Two popular methods are the teepee and log cabin structures.
For a teepee, place your tinder in the center and lean kindling sticks around it, forming a cone. Add larger sticks as the structure grows. Leave an opening on the side you’ll be lighting.
The log cabin requires you to lay a base of kindling, then stack your sticks in alternating layers. It allows for better air flow and a stable structure to cook on.
Light the tinder with a match or lighter, carefully monitoring the flames. Add more kindling as needed, letting it catch fire before adding larger fuel wood. Keep your fire at a manageable size, and you’ll have a steady, hot base for cooking those delicious campfire burgers.
Preparing the Burgers
Seasoning the Meat
Before diving into seasoning, ensure your hands are clean – hygiene is key when handling food, especially when you’re outdoors. Start by choosing your favorite ground beef, ideally with a fat content of about 15-20% for juicy burgers. Now, let’s get to flavoring that meat.
You’ll want to add spices and seasonings that’ll complement the smoky taste of the campfire. Here’s what you need:
- Salt
- Black pepper
- Garlic powder
- Onion powder
Mix these seasonings into the meat evenly but don’t overwork it; you want to retain the meat’s tenderness. Once seasoned, let the meat sit while you prep your fire to allow the flavors to meld.
Shaping the Patties
After seasoning, it’s time to shape your patties. To get uniform burgers, aim for patties that are about ½ inch thick. This thickness ensures a good sear on the outside while keeping the inside cooked to your preference. If you make a small dent in the center of each patty, they’ll cook up nice and flat, rather than puffing up in the middle.
Here’s how to shape them:
- Scoop a palmful of ground beef.
- Roll it into a ball.
- Press it flat between your hands.
Make sure your patties are consistent in size and shape for even cooking. Once done, set them aside on a clean plate or tray.
Packing and Storing the Burgers
Now that your patties are shaped, it’s crucial to store them properly until it’s time to cook. If you’ve got a cooler, stack the patties with parchment paper or a clean divider between each to prevent sticking.
Here are the steps for optimal storage:
- Keep burgers at the bottom of the cooler where it’s coldest.
- Ensure that the cooler is packed with sufficient ice or ice packs.
- Store raw meat away from ready-to-eat foods to avoid cross-contamination.
Remember, food safety is paramount, especially when you’re away from the conveniences of a kitchen. Keep your burgers chilled right up until they hit the grill.
Get your burgers to the campfire and let’s start cooking.
Cooking the Burgers on the Campfire
As you eagerly anticipate the sizzling sound of burgers over the crackling campfire, setting up a safe and efficient cooking area is essential.
Setting Up the Cooking Area
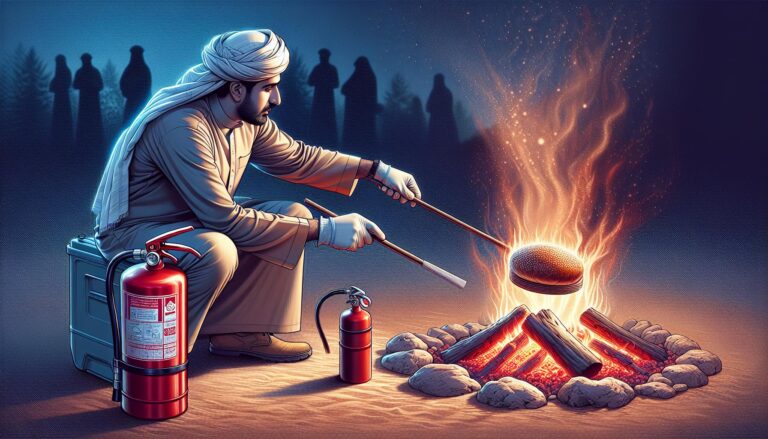
Begin by choosing a level spot away from flammable materials. Clear away any leaves, twigs, or debris to prevent unwanted fires. Position the campfire downwind from your tent and seating area to keep smoke and ash at bay. Always have water or a fire extinguisher on hand for emergencies.
Preparing the Grill
Once your campfire is burning steadily with glowing embers, it’s time to set up your grill. If you’re using a portable grill, place it securely over the embers. Make sure it’s stable to avoid any accidents. For those preferring a more rustic approach, positioning greenwood sticks or a sturdy grate over the embers will also do the trick. Let the grill heat up before you add your patties—this helps prevent sticking and ensures a good sear.
Cooking the Patties
Patience is key when cooking your burgers. Lay the patties on the hot grill and let them cook undisturbed for a few minutes to develop that desirable crust. Flip them gently, only once, to preserve their juices. Cook to your desired level of doneness; a meat thermometer can help ensure they’re cooked safely:
| Doneness | Internal Temperature |
|---|---|
| Medium Rare | 130°F to 135°F |
| Medium | 135°F to 145°F |
| Medium Well | 145°F to 155°F |
| Well Done | 155°F and up |
Use a spatula to handle the patties and avoid pressing down on them—this squeezes out the juices and can cause flare-ups.
Tips for Cooking Veggie Burgers
Veggie burgers require a slightly different approach. They’re typically more delicate and can fall apart or stick if not handled correctly. Here’s what to keep in mind:
- Preheat the grill thoroughly to avoid sticking
- Oil the grill or the patties lightly
- Cook on medium heat to prevent the outside from burning before the inside is heated through
- Be gentle when flipping and only do so once if possible
Whether you’re cooking meaty classics or plant-based alternatives, monitoring the heat and taking your time will lead to delicious results every time. Remember, cooking over a campfire isn’t an exact science—it’s part of the adventure. Adjust as needed and enjoy the experience of creating something amazing in the great outdoors.
Adding Flavor with Fire-Grilled Toppings
Enhancing your campfire burgers isn’t just about the patty—it’s about the toppings too. Grilled toppings can add a smoky depth to your burger that a raw vegetable simply can’t match.
Grilling Onions and Peppers
A classic choice for adding a sweet and charred flavor to your burgers, onions and peppers are robust options. You’ll want to slice your onions thick enough so they don’t fall through the grill grates. Peppers should be cut into large pieces, making them easier to manage over the open flame.
- Start by lightly oiling your veggies to prevent sticking.
- Place them directly on the grill for a couple of minutes each side.
- Watch for the edges to begin caramelizing; that’s your cue they’re done.
They’ll cook quickly, so don’t stray too far from the grill. Remember, the goal is to achieve a nice char without burning.
Toasting the Buns
Don’t overlook the buns; they’re as crucial as the toppings and the patties themselves. Toasted buns not only hold up better, but they also offer a delightful crunch and toasted flavor that complements the burger.
- Brush the inside of the buns with butter or oil to prevent sticking and add flavor.
- Place them on the outskirts of the grill where the heat is less intense.
- Keep a close eye and toast them to your desired level.
By placing the buns around the cooler parts of the grill, you’ll avoid burning them before they’ve had a chance to crisp up. Toasted buns can make all the difference in the textural experience of your campfire burger.
With your onions and peppers grilled to perfection and your buns toasted just right, you’re setting the stage for an unforgettable campfire burger. Remember, it’s the combination of all elements, the patty, the toppings and the buns that elevate your burger from good to great. Now, let’s move on to mastering the art of melting cheese for that ultimate gooey factor.
Serving and Enjoying the Burgers
Once you’ve mastered the art of grilling the perfect patty and toasting those buns just right, it’s time to move on to the most satisfying part: serving and savoring your campfire burgers. Here’s how you put together that irresistible bite.
Assembling the Burgers
As you’re ready to assemble the burgers, make sure your ingredients are lined up within reach. Start with the bottom bun and place your beautifully charred patty on top. Remember, the order in which you stack the ingredients can impact both flavor and stability of your burger.
- Place a slice of cheese on the hot patty to let it melt slightly
- Add the fire-grilled onions and peppers
- Layer on any other toppings like crisp lettuce or ripe tomatoes
This is your moment to create a mouthwatering tower of deliciousness.
Adding Desired Condiments and Toppings
Condiments aren’t just an afterthought—they’re the secret weapon that can elevate your burger to new heights. Whether you’re a fan of the classic ketchup and mustard duo or you like to get creative with aioli and gourmet sauces, applying them correctly is key.
- Spread condiments on the top bun to ensure even distribution with every bite
- Consider specialty condiments like chipotle mayonnaise or tangy barbecue sauce
- Don’t forget the pickles for a crunchy, vinegary kick
The right condiment pairing can make your campfire burger uniquely yours.
Indulging in the Deliciousness
Now that your campfire burger is assembled to perfection, it’s time to dive in. But before you do, take a moment to appreciate the symphony of flavors and aromas. The juicy patty, the smokey veggies, the fresh toppings, and the harmonious blend of condiments—all ready for that first, unforgettable bite.
- Savour each layer and how they come together
- Enjoy the rustic setting and enhance your dining experience with the great outdoors
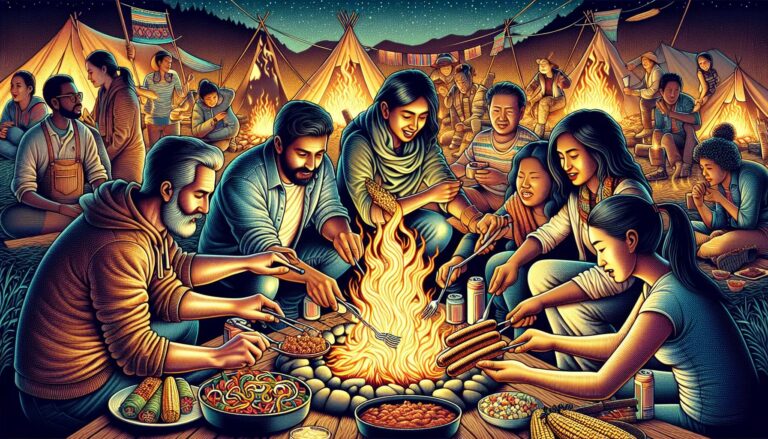
- Share the experience with friends or family to make dining by the campfire even more memorable
Let the comforting crackle of the fire and the laughter of loved ones complement the satisfaction of a burger well made.
Conclusion
Mastering the art of cooking burgers over a campfire is sure to make your outdoor adventures even more memorable. With the right techniques for grilling toppings and toasting buns, you’ve learned how to create a feast that’s as satisfying as it is simple. Remember, it’s the layers of flavor from the perfectly charred patty to the fire-kissed veggies and the lightly crisped bun that make your campfire burger truly exceptional. So go ahead, assemble with care, add your favorite condiments and dig into that mouthwatering burger. Don’t forget to soak in the natural ambiance and share the joy of your culinary creation with friends and family. Happy grilling!
Frequently Asked Questions
How do you prevent onions and peppers from falling through the grill grates?
Thickly slice the onions and peppers, and lightly oil them to increase their size and give them a protective coating, which helps prevent them from slipping through the grill grates.
What is the best way to toast buns on a grill?
Brush the buns with butter or oil and place them on the outer edges of the grill where the heat is moderate. This allows the buns to toast to a nice golden brown without burning.
How do you achieve a good char on burger toppings without burning them?
Monitor the toppings closely while grilling, turning them occasionally, and position them over medium heat to ensure they develop a flavorful char without burning.
What is the correct order to stack ingredients on a campfire burger?
Start with the bottom bun, followed by the burger patty, cheese (if used), and then the grilled toppings. Add condiments on top of the toppings or on the inside of the top bun before closing the burger.
How can one enhance the campfire burger experience?
Enjoy your campfire burger in a rustic outdoor setting, and share the meal with friends or family to fully enjoy the flavors and the company, making the experience more memorable.