Campfire Tri-Tip Mastery: Cook the Perfect Steak Outdoors
Cooking tri-tip on a campfire brings out a rustic charm that’s hard to beat. Imagine sitting by the fire, the aroma of sizzling meat blending with the crisp outdoor air—it’s the ultimate camping feast.
You’ll discover that mastering the art of campfire tri-tip isn’t just about a delicious meal; it’s an experience that enhances your outdoor adventure. With the right technique, you’ll be serving up a juicy, smoky delight that’ll be the highlight of your trip.
TLDR: Get ready to elevate your campfire cooking game with tried-and-true tips for preparing mouthwatering tri-tip that’ll impress your fellow campers and satisfy your hunger for adventure.
Benefits of Cooking Tri Tip on Campfire
When you decide to cook tri tip over a campfire, you’re in for more than just a meal. The benefits extend beyond basic nourishment to encompass an experience that’s both enriching and enjoyable. Let’s explore why this method of cooking is worth your time.
Enhanced Flavor
There’s something undeniably special about the taste of tri tip cooked on a campfire. The open flame imparts a unique smokiness that’s impossible to replicate with a standard kitchen stove. This smokiness is a result of the wood’s natural flavors fusing with your tri tip, creating layers of taste that elevate the meat to a new level of deliciousness. Each bite becomes a testament to the added care and rustic technique you’ve embraced. Plus, the high heat from the fire sears the meat quickly, locking in juices for a tender, more succulent cut.
Outdoor Experience
Cooking tri tip on a campfire isn’t just about the food; it’s an adventure in and of itself. The process of building and managing a fire demands engagement with the natural elements and often requires a dose of problem-solving skill. It’s an authentic way to connect with the great outdoors and step away from the convenience of modern living, if only for a while. As your tri tip sizzles over the fire, you’ll realize that you’re not just cooking; you’re creating memories surrounded by nature’s soundtrack.
Versatility
Preparing tri tip on a campfire also showcases the Versatility of both the meat and the method. Whether you’re aiming for a rare, medium, or well-done finish, campfire cooking allows for a range of preferences and techniques. You can:
- Sear the tri tip directly over the flames for a crusty exterior
- Slow-cook the meat at a distance from the coals for even tenderness
- Experiment with different types of wood to alter the flavor profile
The flexibility of campfire cooking means that you can tailor the experience to suit your tastes and the preferences of your fellow campers. It’s a culinary endeavor that lends itself to customization and creativity, ensuring that no two campfire tri tip meals are ever the same.
Choosing the Right Tri Tip

Quality of Meat
When you’re picking out a tri-tip for your campfire cookout, you’ll want to ensure you choose a piece of meat that’s of good quality. Grass-fed or organic beef is undoubtedly a premium choice, due to its lean nature and rich flavor profile. However, don’t fret if those options are outside your budget or hard to find; USDA Choice or Select grades will also work well. Remember, the quality of your meat impacts the final taste, so aim for the best your budget allows.
Size and Thickness
Size and thickness matter when cooking tri-tip over a campfire. You’re looking for a piece that’s evenly cut and weighs approximately 1.5 to 2.5 pounds. Thickness should be consistent – around 2 inches is ideal. This size is not just easy to handle over an open flame, but it also ensures even cooking. Too thick, and you might find the outside burns before the inside is done; too thin, and the meat could overcook quickly, losing its juiciness.
Marbling
Marbling refers to the white flecks and streaks of fat within the muscle of the meat. This is an essential feature to look for in your tri-tip because it’s a major factor that contributes to flavor, juiciness, and tenderness. Aim for moderate marbling – not too lean, as fat means flavor, especially when cooked over an open flame. The fat renders down during cooking, basting the meat from the inside, thus creating a mouth-watering, succulent feast.
Preparing the Campfire
Once you’ve chosen your perfect tri-tip, it’s crucial to set up your campfire correctly. A good campfire is indispensable for cooking your meat to perfection.
Selecting the Firewood
Selecting the right type of firewood is key to managing the cooking temperature:
- Hardwoods like oak, hickory, or maple provide a long-lasting burn and impart a subtle flavor to the meat.
- Softwoods such as pine or cedar should be avoided as they burn quickly and can add a resinous taste.
Seasoned wood is your best bet. It’s been dried for at least six months and produces a consistent, hot flame with less smoke. Also, ensure that the wood isn’t treated with chemicals which can transfer harmful substances to your food.
Building the Fire
To build a fire that’s ideal for cooking:
- Start with a fire pit or a cleared area that’s safe for a fire.
- Lay down kindling such as small twigs or dry leaves and build a tepee structure with your larger pieces of wood.
- Ignite the kindling with a match or lighter. As the fire grows, gradually add bigger pieces of wood.
- Aim for a fire that heats evenly for reliable cooking temperatures.
Be patient and let the fire burn down to a bed of coals, which is what you’ll use to cook your tri-tip. This typically takes about 45 minutes to an hour.
Preparing the Cooking Area
Once the coals are glowing red and covered with a fine ash, it’s time to prepare the cooking area:
- If using a grill grate, place it over the coals. Let it heat up for a few minutes, then clean it with a wire brush.
- Without a grate, you can cook directly on the embers. Make sure to set the embers aside and create an even cooking surface.
- Establish a hot zone for searing and a cooler zone for slower cooking, so you can control the doneness of your tri-tip.
Remember to keep a safe cooking distance above the coals – typically, you want your grill surface to be about 6 to 8 inches from the coal bed. This allows heat to circulate and avoids charring the meat exterior before the inside is done. Additionally, have a water bottle or fire extinguisher on hand for safety, letting you manage flare-ups effectively without dousing the entire fire.
By following these steps, you’re on your way to achieving a beautifully cooked tri-tip over your campfire that’s packed with smoky flavor and a perfectly seared crust.
Seasoning and Marinating the Tri Tip
Once you’ve picked out the perfect piece of meat and have your campfire going, it’s time to flavor up your tri tip. Proper seasoning and marinating aren’t just added steps; they’re your ticket to an unforgettable meal under the stars.
Dry Rubs
A dry rub is a mixture of spices and herbs that infuses your tri tip with robust flavors. To get the most out of your rub:
- Choose a balance of flavors including salt, pepper, garlic powder, onion powder, and paprika
- Rub the mixture generously onto the meat, covering all sides
- For extra depth, add brown sugar or dry mustard
Applying the dry rub at least an hour before cooking helps the flavors penetrate the meat. If time allows, letting the seasoned tri tip sit overnight in a cooler will dramatically enhance the taste.
Marinades
If a dry rub isn’t your style, a marinade might just be the answer. Marinades typically combine acids like vinegar or citrus juice with oil and herbs. They do more than add flavor; they tenderize the meat. When preparing a marinade:
- Aim for a balance between acidic ingredients and oils
- Incorporate fresh herbs or spices for a distinct taste
- Don’t forget a touch of sweetness with honey or brown sugar to caramelize the surface when cooking
Let your tri tip soak in the marinade for at least 2 hours, though overnight marinating is ideal for maximum flavor and tenderness.
Resting Time
After seasoning or marinating your tri-tip, let it come to room temperature for about 30 minutes before it hits the grill. This resting time is crucial as it:
- Allows the meat to cook more evenly
- Helps retain juices for a more succulent bite
Keep in mind that the meat will continue to cook slightly when removed from the heat, so pull it off a few degrees before it reaches your desired level of doneness. Remember to rest the meat after cooking for at least 10 minutes before slicing, to ensure those flavorful juices stay locked in.
Cooking Techniques
When you’re ready to cook your well-seasoned tri-tip on the campfire, you’ll want to decide on the best technique. There are a few methods you can try, each offering its flavor and texture to the finished product.
Direct Heat
Using Direct Heat is similar to grilling on your backyard barbecue. First, you’ll need to create a bed of hot coals. Once they’re glowing and covered with a fine ash, place your grill grate over the coals. Lay your tri-tip directly above the heat source for a quick sear, which locks in flavor and creates a delicious crust. Remember to watch the meat closely — direct heat can cause charring. Here’s a quick guide:
- Ensure the coals are evenly distributed.
- Sear each side for about 5 minutes, depending on thickness.
- Look for a deep, brown crust before turning.
Indirect Heat
For Indirect Heat cooking, you’ll use a two-zone setup. Push the hot coals to one side of the campfire ring and place the tri-tip on the grill on the opposite side, away from the coals. This method cooks the meat more slowly, reducing the risk of burning while ensuring thorough cooking. It’s ideal for a larger or thicker cut that needs time to cook internally. To master indirect heat:
- Position the meat on the cooler side of the grill.
- Cover with a lid or foil to trap heat if possible.
- Rotate occasionally for an even cook.
Rotisserie
If you’re feeling adventurous, try the Rotisserie method over your campfire. This involves skewering the tri-tip and slowly rotating it over the coals. The constant rotation ensures an even cook and bastes the meat in its juices, leading to incredible flavor. While this method requires special equipment—a rotisserie skewer—it offers a fun and interactive cooking experience. Set up tips:
- Install a campfire rotisserie spit securely.
- Turn periodically if your setup isn’t automatic.
- Keep a consistent heat source for the best results.
Different techniques will give your tri-tip unique flavors and textures. You might experiment with each method to find your favorite, always keeping safety in mind as you enjoy your culinary adventure in the great outdoors.
Monitoring and Adjusting the Temperature
When you’re cooking tri-tip on a campfire, maintaining the right temperature is crucial for achieving that perfect doneness. Since you’re dealing with open flames and varying heat sources, it’s not as straightforward as setting an oven. Below, you’ll find strategies to help you keep things under control and cook your tri-tip to perfection.
Using a Grill Thermometer
Investing in a reliable grill thermometer might be one of the smartest moves you make for campfire cooking. Since you won’t have the precise controls of a kitchen stove, you need a way to gauge the temperature near your cooking surface. Place the thermometer near where your tri-tip is cooking to get an accurate read. By regularly checking the temperature, you can:
- Avoid under or overcooking
- Make informed decisions about heat adjustments
- Ensure even cooking throughout your tri-tip
Make sure your grill thermometer is designed to withstand high temperatures and is suitable for outdoor use.
Positioning the Meat
Where you position your tri-tip on the grill greatly affects how it cooks. You should know your heat zones:
- Directly over the coals for searing and creating a crust
- Off to the side (indirect zone) for slower, even cooking
- Elevate the tri-tip using a grill rack for less intense heat
Through careful placement, you encourage consistent cooking. If one side’s cooking faster than the other, rotate the meat accordingly.
Adding or Removing Heat
If you need to adjust the cooking temperature, you’ll be adding or removing heat sources. Here’s how to do it effectively:
- To increase heat:
- Add more wood or coals to the fire
- Fan the flames to introduce more oxygen
- To decrease heat:
- Spread out coals or embers to reduce concentration of heat
- Create a larger indirect heat zone by moving coals to one side
- Allow coals to burn down slightly
Remember, tri-tip cooking on a campfire requires patience and attention to detail. Monitoring and adjusting the temperature will help you steer clear of the too-raw or overdone extremes, nudging you closer to that perfectly cooked piece of meat every outdoor chef strives for. Keep your tools handy, your eyes on the fire, and trust your instincts as you nurture the flames and coals to cook that tri-tip to tender, smoky excellence.
Checking for Doneness
When you’re cooking tri-tip on a campfire, knowing when the meat has reached the perfect level of doneness is crucial for a tender and flavorful meal. You’ll want to avoid guessing games – undercooked meat can be risky, while overcooked meat loses its juiciness and appeal. Let’s dive into some reliable methods to ensure your tri-tip turns out just right.
Using a Meat Thermometer
Investing in a good quality meat thermometer could be your best move for consistently great tri-tip. It takes the guesswork out of cooking, providing a clear indication of the internal temperature. Here’s what to look for:
- Insert the thermometer into the thickest part of the meat, away from any fat or bone.
- Cook the tri-tip to the desired doneness:
| Doneness | Internal Temperature |
|---|---|
| Rare | 120-130°F |
| Medium Rare | 130-135°F |
| Medium | 135-145°F |
| Medium Well | 145-155°F |
| Well Done | 155°F and up |
Remember to remove the meat from the heat a few degrees before it reaches your target temperature, as it will continue to cook while resting.
Performing the Finger Test
If you don’t have a meat thermometer handy, the finger test is a traditional method that can help you assess doneness by feel. Use caution and be gentle:
- Relax your hand and feel the fleshy area under your thumb – this is similar to rare meat.
- Touch your thumb to your forefinger – the feel of the base of the thumb now resembles medium rare.
- Medium doneness matches the firmness when the thumb is touched to the middle finger.
Note that this method requires practice and is less precise than using a thermometer.
Proper Resting Time
Resting your tri-tip is an often-overlooked but essential step in the cooking process. It allows juices to redistribute, which results in a more succulent piece of meat. Here’s what to do:
- Transfer the tri-tip to a cutting board or a platter once it’s off the fire.
- Loosely tent the meat with foil to keep it warm.
- Let it rest for at least 10 minutes for smaller cuts and up to 20 minutes for larger ones.
During this time, the internal temperature can rise by 5 to 10 degrees, enhancing flavors and texture.
By mastering these techniques, you’re well on your way to cooking a tri-tip that’s sure to impress your campfire guests. Remember, patience and attention to the details of doneness will reward you with the perfect campfire meal.
Slicing and Serving
Slicing Against the Grain
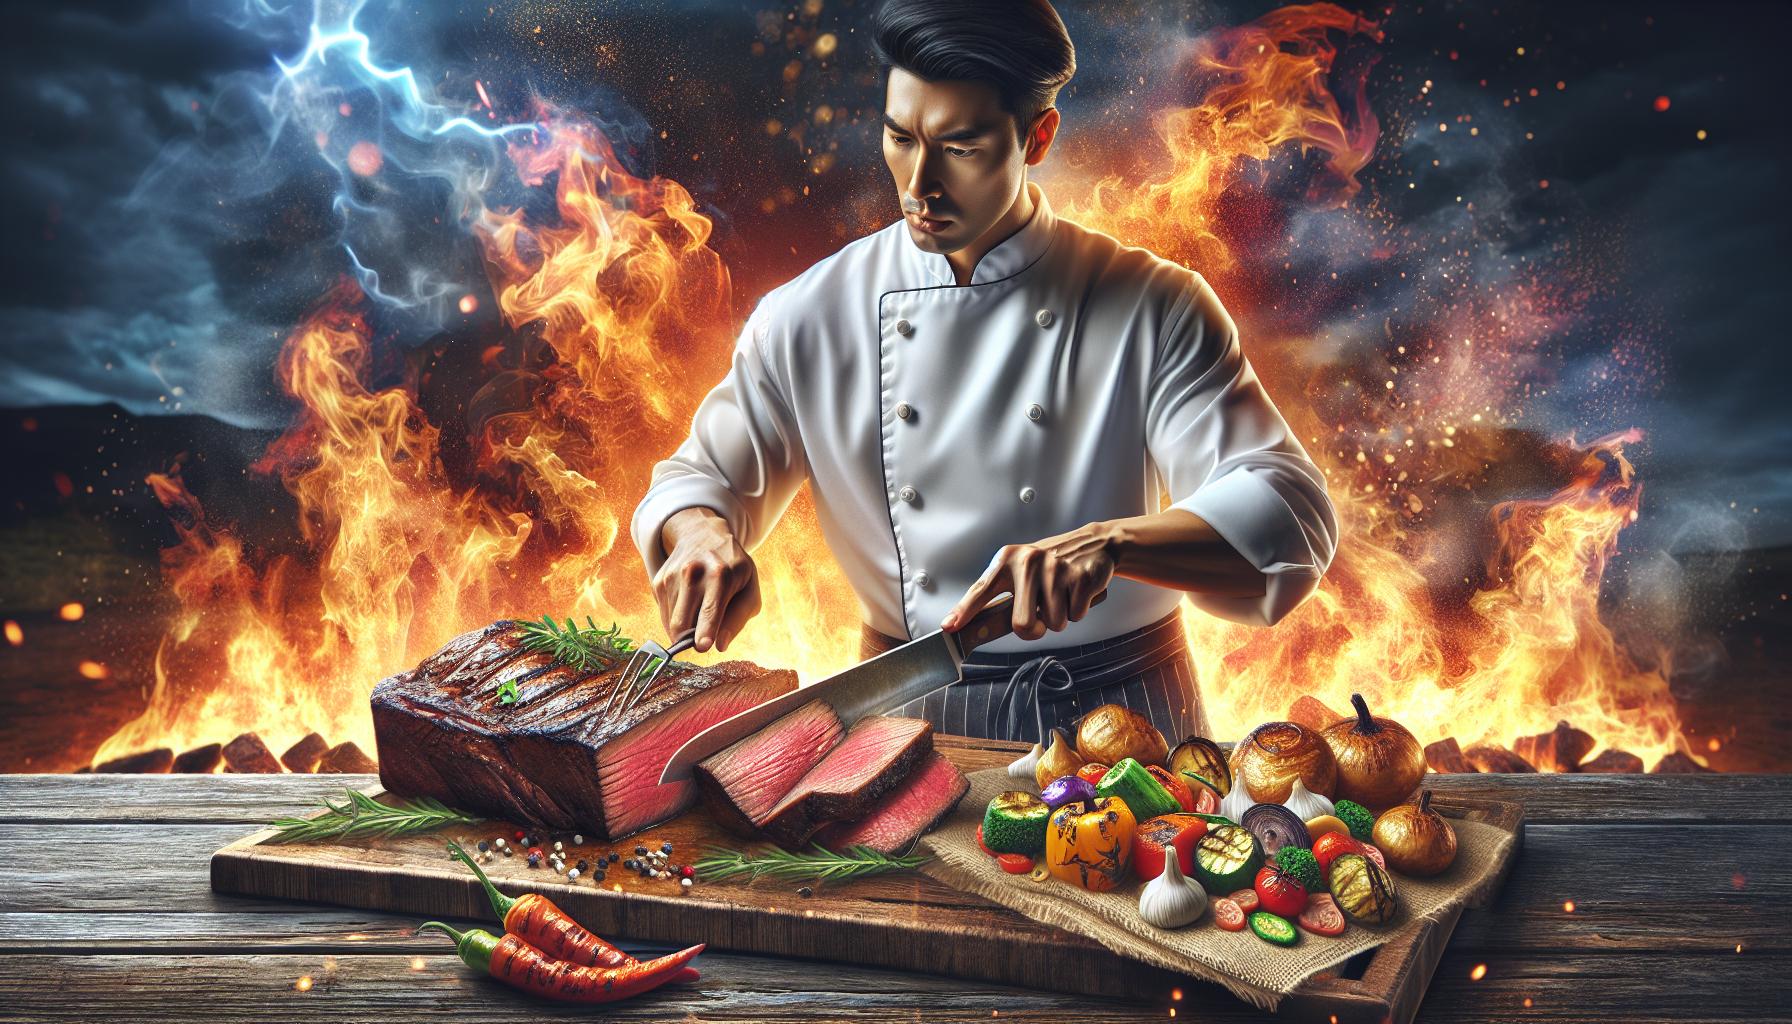
Once your tri-tip has rested, it’s time to slice it properly to maximize tenderness. The grain in the meat refers to the direction the muscle fibers run. Locate these lines, and you’ll want to slice perpendicular to them. This technique is crucial because it shortens the muscle fibers, making your meat more tender and easier to chew. With a sharp knife in hand, make smooth, even slices, about a half-inch thick. Keep your slices consistent to ensure each piece cooks evenly when reheating or if you’re saving leftovers.
Presenting the Tri Tip
How you present your tri-tip can be as important as the preparation itself. Arrange your slices on a platter in a fan shape to showcase the perfectly cooked interior, with the crispy, charred edge visible. Garnishing with fresh herbs like rosemary or thyme adds a touch of gourmet flair and a pop of color that’s sure to impress. Don’t forget to drizzle a bit of the meat’s juices over the top to highlight its succulence.
Pairing with Sides and Sauce
The right sides and sauces can elevate your campfire tri-tip from simple to sensational. Consider classic pairings that complement the robust flavors of the meat:
- Roasted vegetables – a mix of bell peppers, onions, and zucchini offer a smoky sweetness.
- Baked potatoes – a hearty choice that can be dressed up with sour cream and chives.
- Salad – a light, fresh green salad balances the richness of the meat.
For sauces, a chimichurri or barbecue sauce both add a burst of flavor. Serve them on the side to let everyone tailor their meal to their taste preferences. Remember, the ideal pairing should enhance, not overpower, the natural flavors of your tri-tip.
Conclusion
You’re now equipped to master the art of cooking tri-tip over a campfire. Remember to slice against the grain for that perfect tenderness and present your masterpiece with style. Pair it with sides and sauces that complement, not compete with, the rich flavors of your tri-tip. Whether you’re in the great outdoors or your backyard, your campfire skills will impress any guest. Get ready to savor each bite of your perfectly cooked, smoky tri-tip and take pride in your newfound culinary prowess. Happy grilling!
Frequently Asked Questions
What is the best way to cut tri-tip?
To ensure tenderness, cut tri-tip against the grain. This method cuts through the muscle fibers, making the slices more tender.
How should tri-tip be served for presentation?
Arrange the sliced tri-tip on a platter in a fan shape for an attractive presentation.
What are ideal pairings with tri-tip?
Opt for sides like roasted vegetables, baked potatoes, and salad. Pair with sauces such as chimichurri or barbecue sauce to complement the tri-tip’s natural flavors without overwhelming them.


